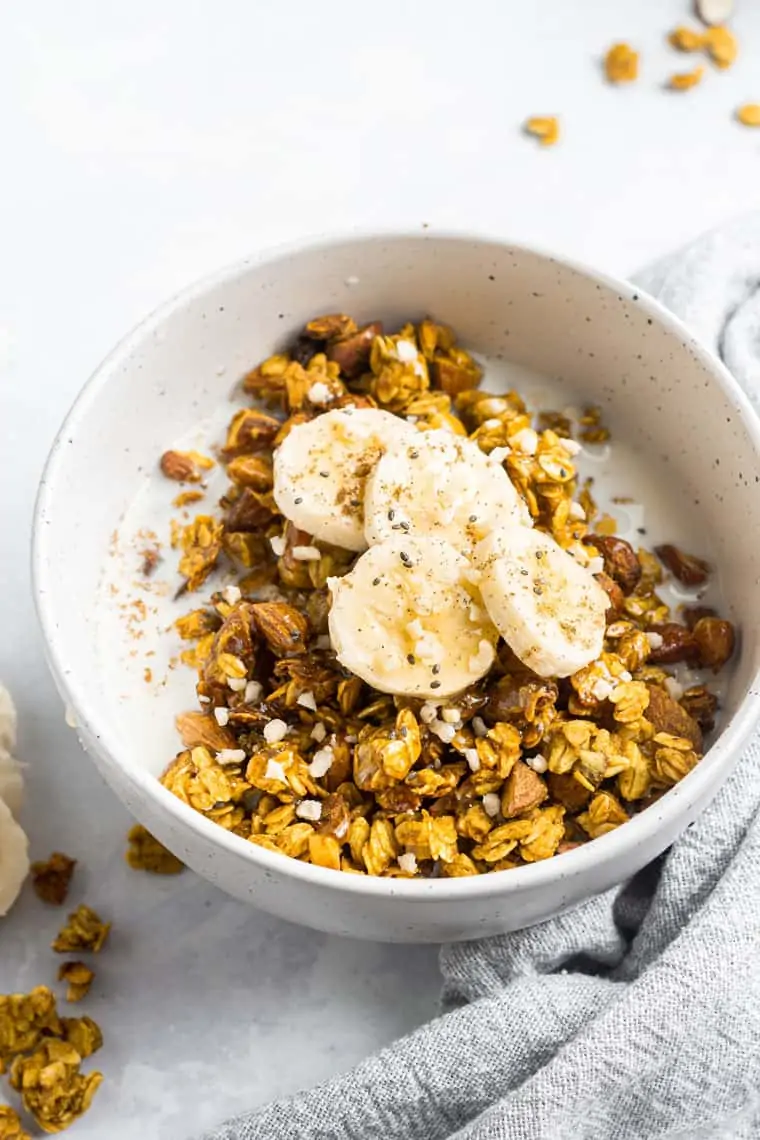
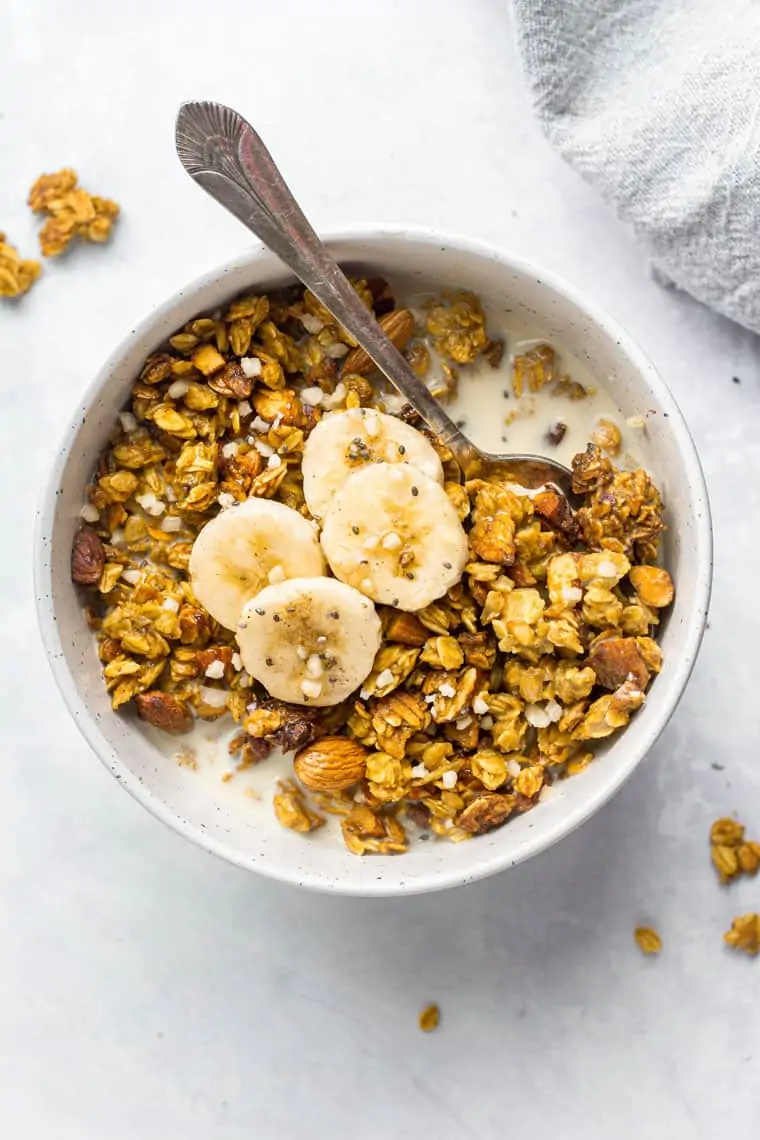
8-ingredient banana turmeric granola is naturally sweetened with honey and full of protein from nuts and rolled oats. It's easy to make and super crunchy with just the right amount of sweetness!
Every year I feel like there's a new food trend. Years ago it was quinoa, then kale took over, and two years ago turmeric came onto the scene. It was touted for its anti-inflammatory properties and you saw it pop up in everything from lattes to protein powders and tons of recipes online.
Even though it might have been trendy a few years ago, I still love turmeric and I use it a lot in my cooking and baking. My detox turmeric lentil soup? It's on repeat all winter long!
But I felt it was time to test turmeric's hand in baking. I didn't want to go full-blown muffin or pancake (yet at least!), so I settled with one of my absolute favorite things to bake: granola!
And I came up with this fabulous honey banana turmeric granola which highlights turmeric's unique flavors, while still being perfectly sweet!
How to Make Turmeric Granola
I think granola is one of my favorite things to make because it's so easy. You basically just mix everything together and bake it up!
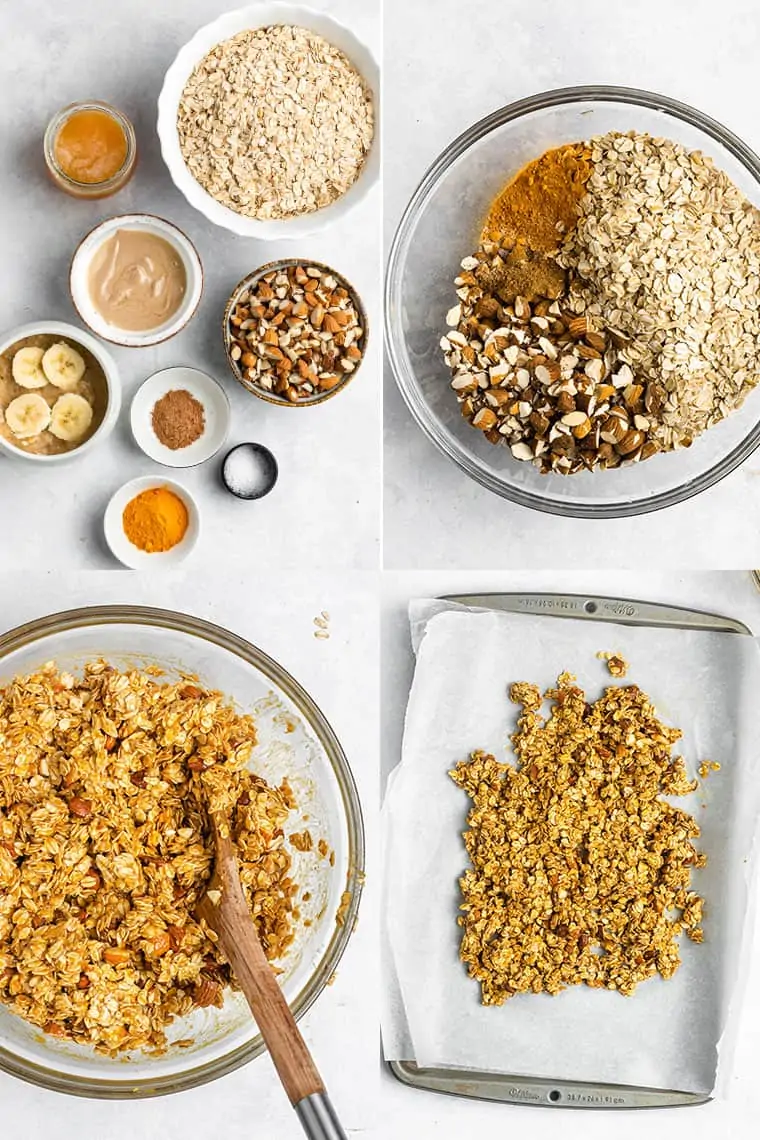
It also doesn't use very many ingredients which I'm totally here for. This banana granola is just 8 ingredients!
- Oats: I like to use old-fashioned rolled oats in my recipes! They contain more filling fiber. If you're celiac, make sure to buy certified gluten-free oats.
- Almonds: I usually use sliced almonds for my banana granola. However, you can use your favorite types of nuts or seeds. Just make sure they add up to 1 cup!
- Spices: for our spices we're using turmeric (duh!), cinnamon, and a pinch of cardamom (if you want). I also always throw in a little sea salt for enhanced flavor.
- Banana: Much of the flavor and sweetness from this recipe comes from the banana. Plus, adding a banana means you can make oil-free granola. And the result is crunchy granola with naturally sweet banana flavor, rather than added oils.
- Tahini: I love the nuttiness that tahini brings to this recipe. But if you're not a fan, you can also use almond butter, peanut butter, or cashew butter! Sunflower seed butter would also work as a nut-free substitution.
- Honey: I chose honey as my sweetener because I think the flavor pairs really well with turmeric. If you want to make this fully vegan, swap it with maple syrup!
Why Homemade Granola is Healthier
As with most homemade recipes, the main reason homemade granola is healthier than store-bought is that you are in control of the ingredients. In addition, you control the proportions, which means you can control the nutrition label.
Homemade granola is also usually less sweet. Also, you can make it without low-quality oils and refined sugars. And finally, it generally tastes better because you're making it yourself!
In addition, granola is one of the easiest recipes to customize. From nut butter to seeds and spices, you can build your own flavor with all of the same health benefits.
How to Serve Turmeric Granola
Granola is a super versatile food to have around because you can serve it a million different ways! Because turmeric granola with banana is unique, it might not have quite the same range as a classic like banana bread granola, but here are some ideas for enjoying this nutty snack:
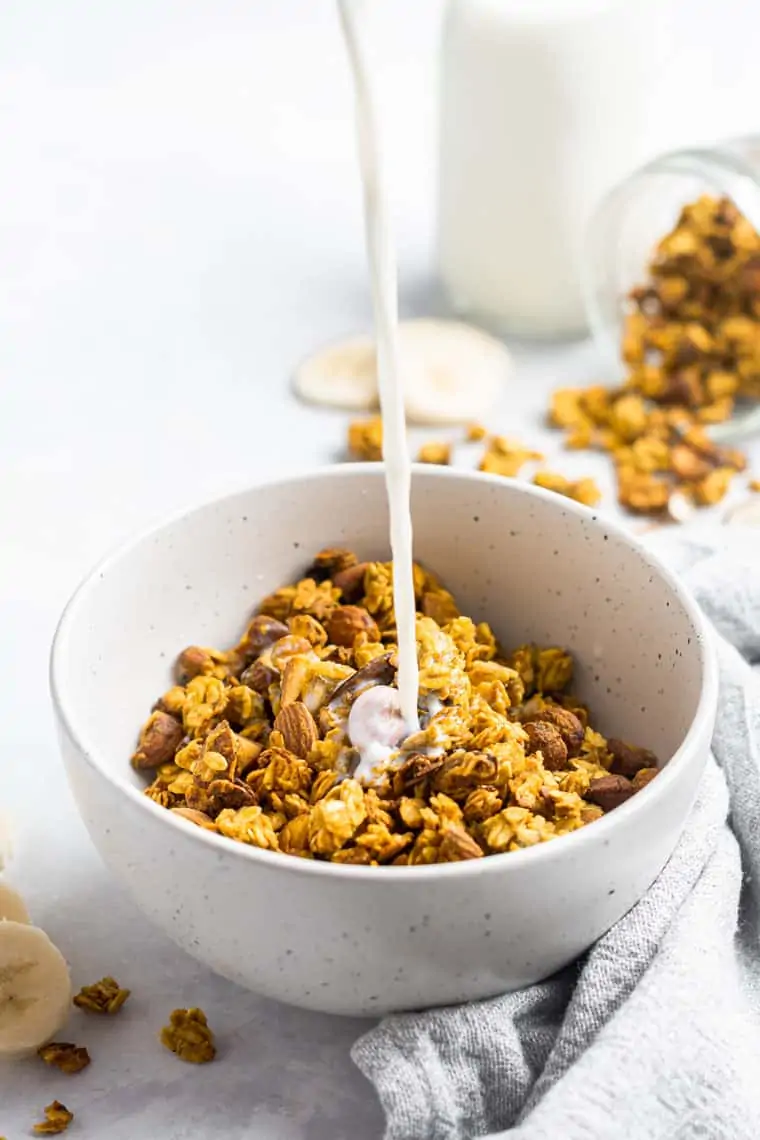
- Plain + simple: I love pouring unsweetened almond milk over my granola with a drizzle of honey and sliced banana.
- Yogurt parfait: if you wanted to take it up a notch, build a yogurt parfait by layering turmeric granola with coconut yogurt, fresh fruit, and chia seeds, in alternating layers. Make it in a glass or jar for the full visual effect.
- As a topper: granola makes a fantastic topper for smoothies/smoothie bowls, pancakes, toast, and yes, sometimes you'll even find me adding it to oatmeal.
- For a snack: grab a handful of this healthy banana granola as you run out the door or before your workout. It's a perfect pick-me-up!
Tips for Storing Your Banana Granola
Got some questions about keeping turmeric banana granola nice and fresh? Here are the answers to some of your most common questions about the best way to store granola.
How to Keep Homemade Granola Crispy
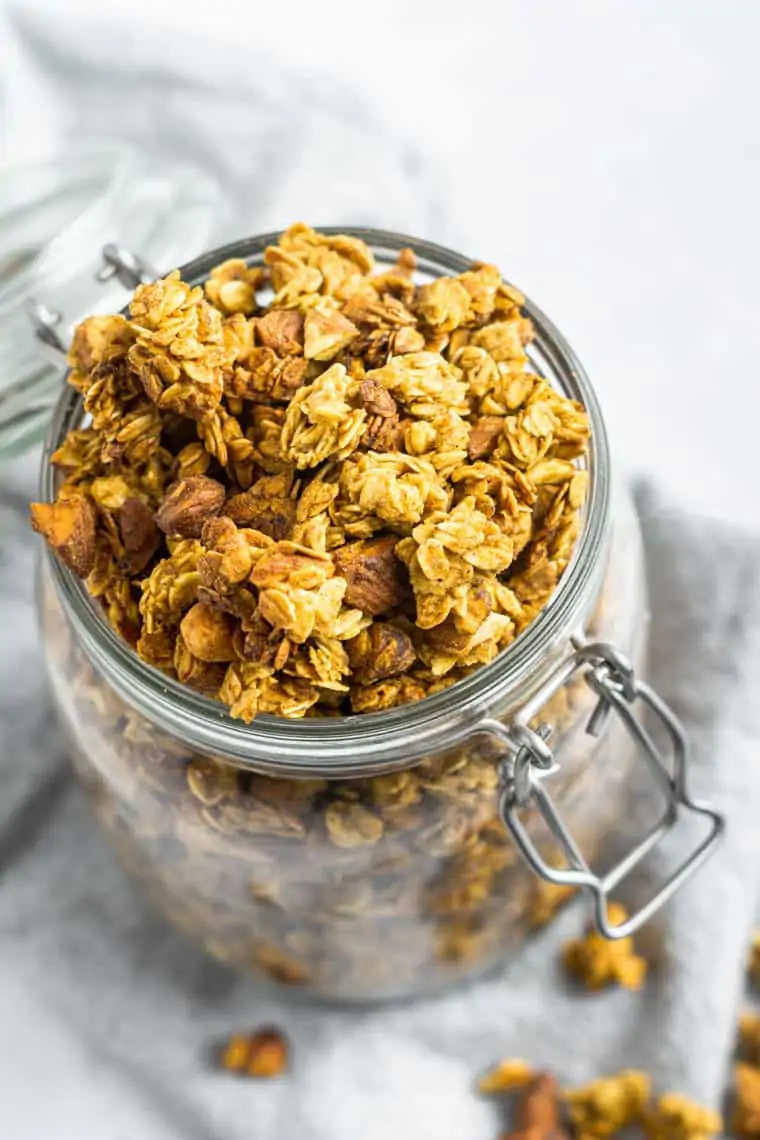
The best way to keep homemade granola crispy is to keep it sealed away from air. The more air it sees, the less crisp it will get (think stale). I like jars that have a clamp lid as they stay completely airtight.
Can You Freeze Granola?
Another way to keep your granola fresh is to freeze part of it. My mom does this all the time when she makes her own homemade granola recipe. Just place the cooled granola in a ziplock bag, lay it flat in the freezer and it will stay good for 3 to 4 months!
How Long Does Homemade Granola Last?
If you're keeping your granola at room temperature, it will likely last about 2 weeks. I recommend storing it in a cool, dark cupboard in a completely airtight container to maintain freshness. But my guess is your batch won't even last that long because you'll just be eating it all the time!
More Healthy Granola Recipes to Try!
I can't wait to hear what you think of this new granola! If you're looking for even more granola-inspo, we've got you covered:
- Best Ever Vanilla Almond Granola
- Honey Blueberry Quinoa Granola
- Simple Honey Granola
- Peanut Butter Banana Quinoa Granola
Honey Banana Turmeric Granola
Ingredients
- 6 cups gluten-free rolled oats
- 1 cup chopped almonds
- 1 tablespoon ground turmeric (less if you don't LOVE turmeric)
- 1 teaspoon cinnamon
- pinch of sea salt
- 1 cup mashed banana
- 1/4 cup tahini (or nut butter of choice)
- 1/2 cup honey
- Pinch of ground cardamom (optional)
Instructions
- Preheat the oven to 350ºF.
- Combine all the dry ingredients in a large mixing bowl and set aside.
- Stir together the mashed banana, tahini, and honey and beat vigorously until everything is combined (you don't want large chunks of tahini!).
- Pour the wet ingredients to the dry and stir until well mixed and all the ingredients are coated.
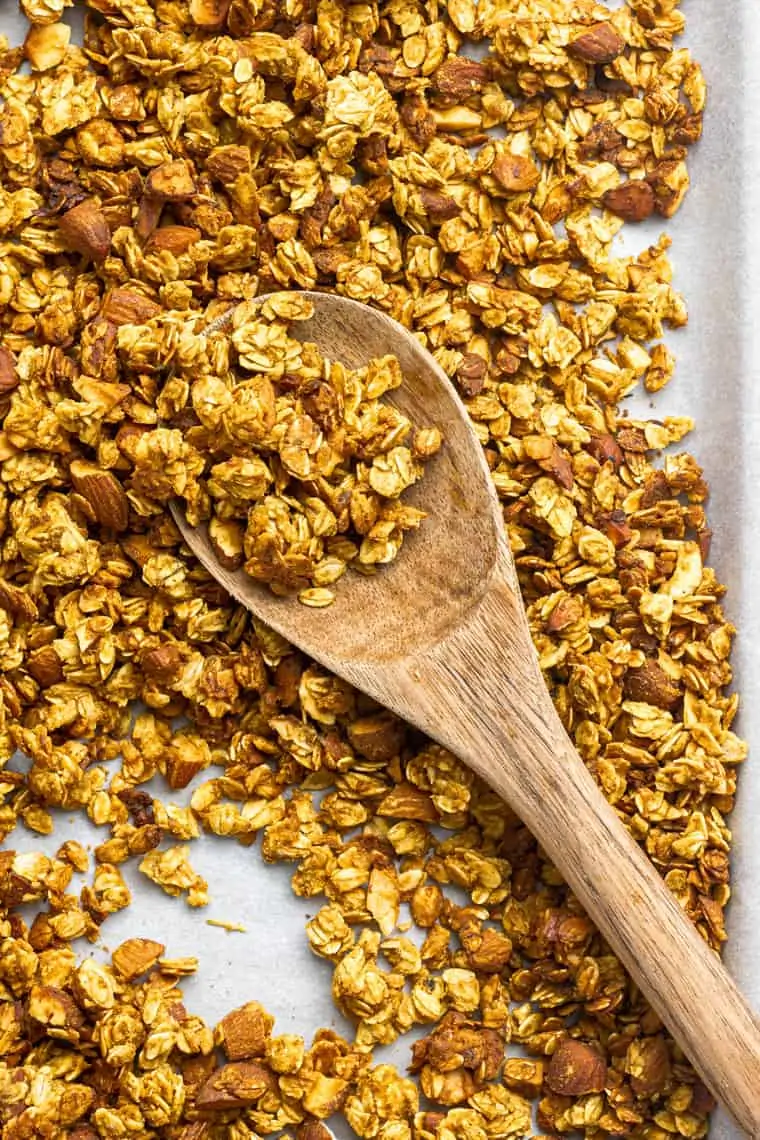
- Separate the mixture onto two baking sheets, and bake for 30 - 35 minutes, until the granola is starting to brown. I recommend stirring and flipping it every 10 minutes to ensure even cooking.
- Let cool completely (in the warm oven for crunchiest results!), then transfer to an airtight container. Store in a cool, dry place for two weeks.
