These gluten-free English muffins are beautifully fluffy, light, and so tasty. They're delicious toasted and a fantastic grab-and-go option for breakfast!
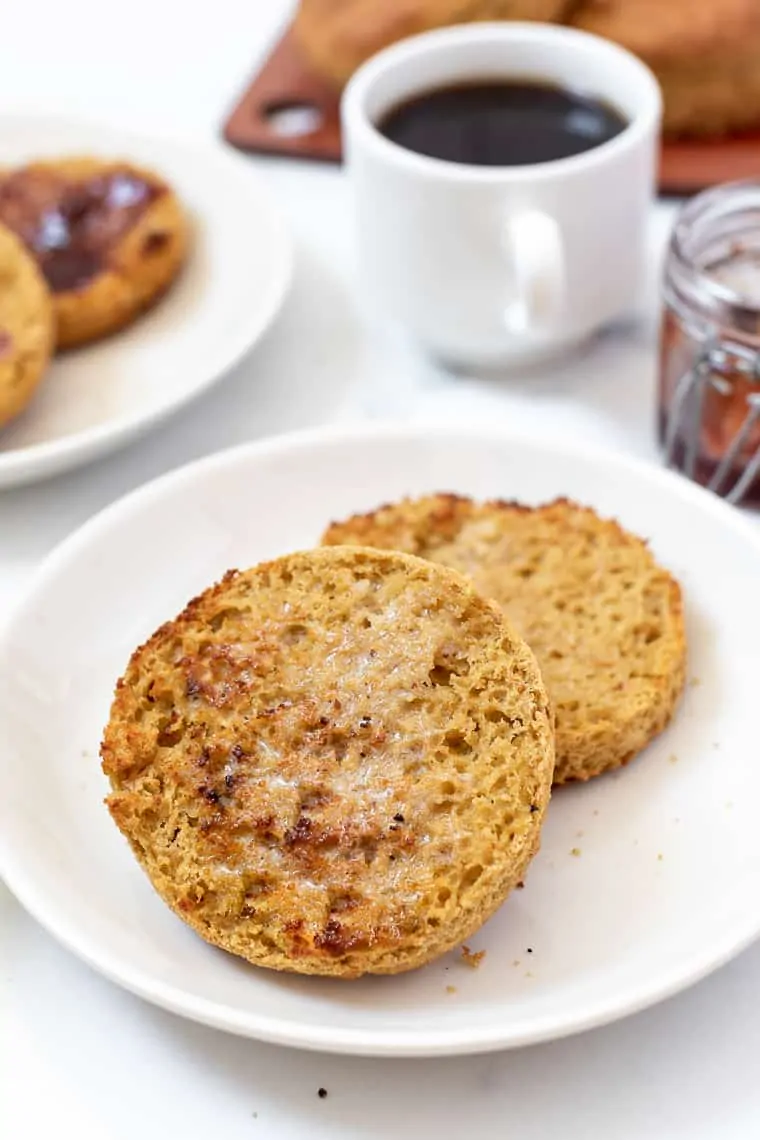
I'm on a mission, friends. A mission to make delicious gluten-free baked goods that taste even better than their gluten-filled counterparts. And with these gluten-free English muffins, I nailed it. Guys, like seriously. I totally nailed it.
Admittedly, I do have my fair share of kitchen blunders that don’t make it to the blog—cookies that lack sweetness, bread that doesn't bake through, muffins that are too crumbly to eat, pizza crust that sticks to the pan. But it's the successes like these gluten-free English muffins that make the fails worth it!
Why You'll Love These Gluten-Free English Muffins
- Soft and pillowy. Some store-bought gluten-free baked goods are disappointingly dry and crumbly, but these English muffins are anything but! They’ve got a light texture and tender crumb.
- Formulated for success. Like most gluten-free baked goods, we are using a combo of flours. Each one performs a bit differently, so when you put them together, you get a good replication of classic all-purpose flour.
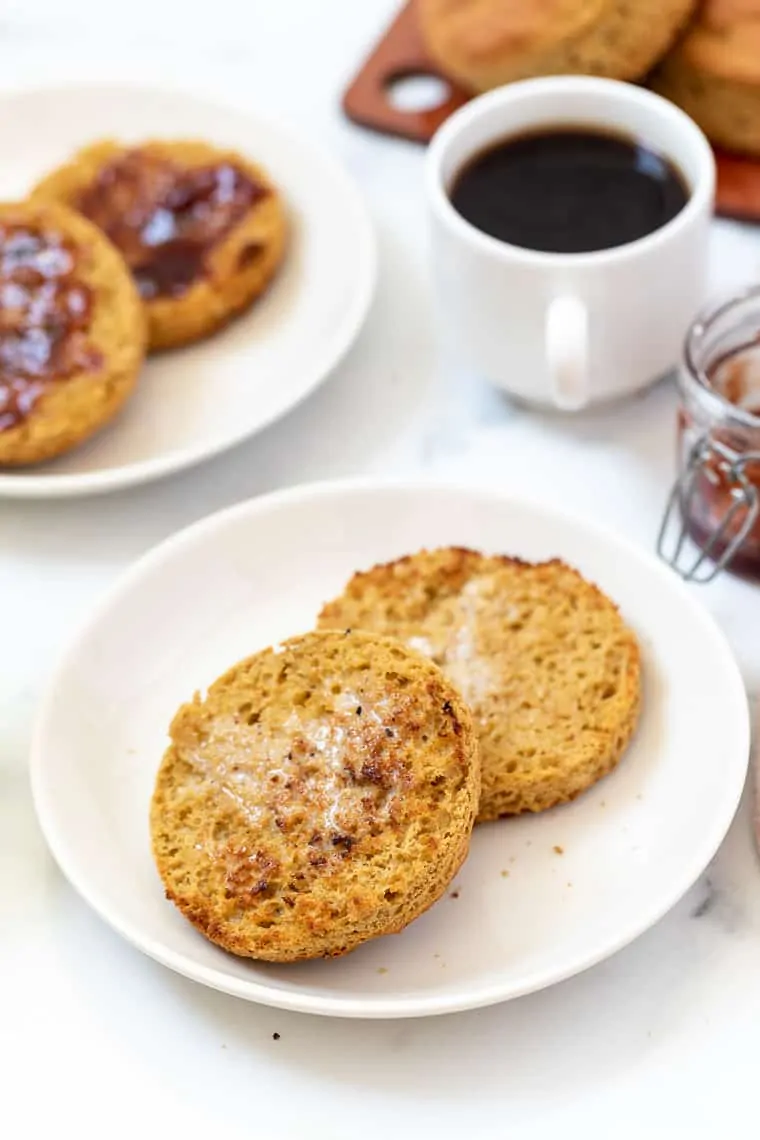
- Gorgeous when toasted. If you’ve dabbled in making your own yeast or sourdough breads at home, you’ve probably discovered that not all homemade breads actually toast. These English muffins aren’t one of them! They crisp up nicely in the toaster, turning golden brown.
- Versatile. I like to toast up these gluten-free English muffins for my morning breakfast and make a quick PB+J, but these babies would also make great burger buns or sandwiches!
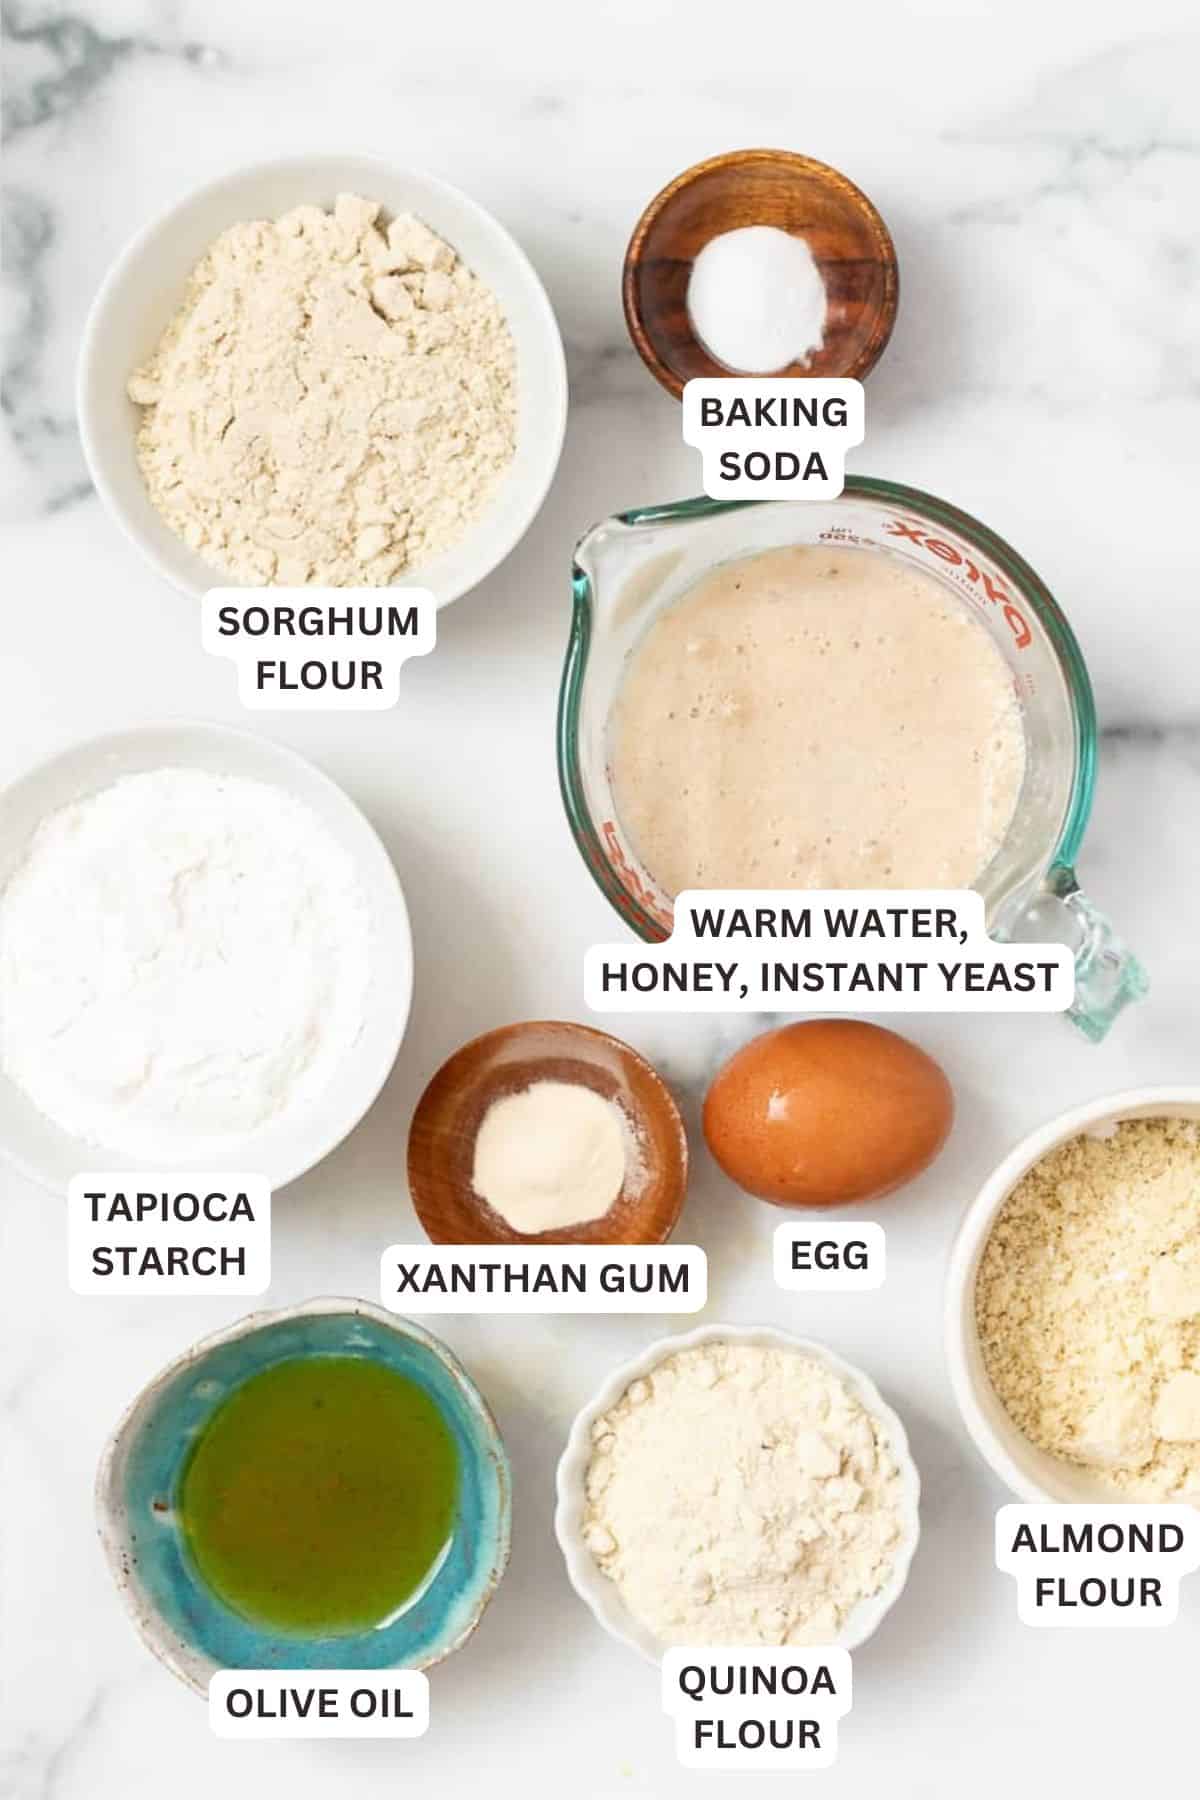
What You’ll Need
Scroll down to the recipe card to find the ingredient quantities and recipe instructions.
- Sorghum flour –I love this flour because it's light and a teeny bit sweet, which gives our gluten-free English muffins a nice flavor.
- Tapioca starch –This lightens things up (no dense English muffins here!) and also helps with binding.
- Almond flour – One of my all-time favorites because it's not only high in protein and healthy fats, but it helps add an amazing crumb to baked goods.
- Quinoa flour – The GOAT of gf flours! High in protein, a tad bitter (unless you toast), and just so awesome in pretty much everything. (GOAT if you don't know stands for greatest of all time 😉)
- Xanthan gum – Another ingredient that helps with the binding.
- Baking soda
- Instant yeast
- Salt
- Warm water – It should be between 80 – 90ºF.
- Honey – This adds a touch of sweetness and helps feed the yeast. While instant yeast doesn’t necessarily NEED sugar to activate, adding it (in the form of honey here) speeds up the proofing process.
- Olive oil
- Egg – Let this come to room temperature.
How To Make Gluten-Free English Muffins
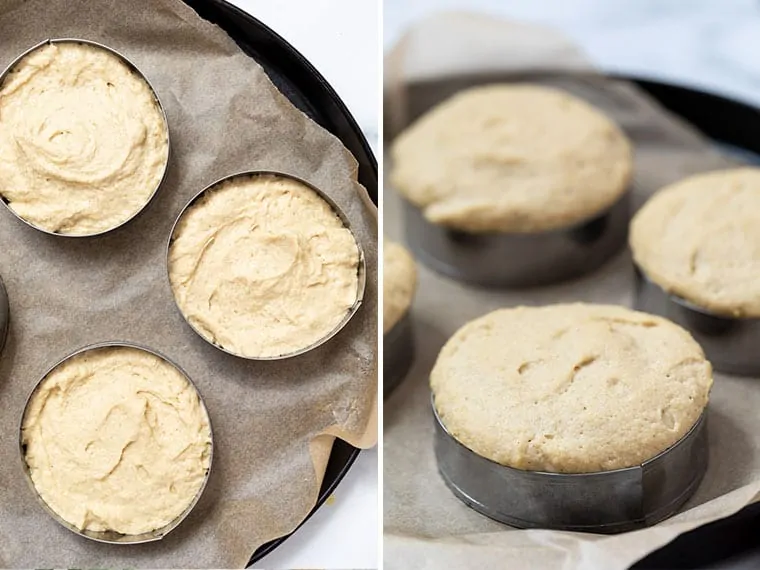
- Bloom the yeast. Mix the yeast in a bowl with warm water and honey, and set it in a warm spot until it’s foamy.
- Make the dough. Mix the dry ingredients together, then pour in the wet and stir it all together vigorously to activate the xanthan gum.
- Let the dough rise. Transfer the dough into your English muffin rings. Cover with a cloth towel and set them in a warm spot to rise until they’ve roughly doubled in size.
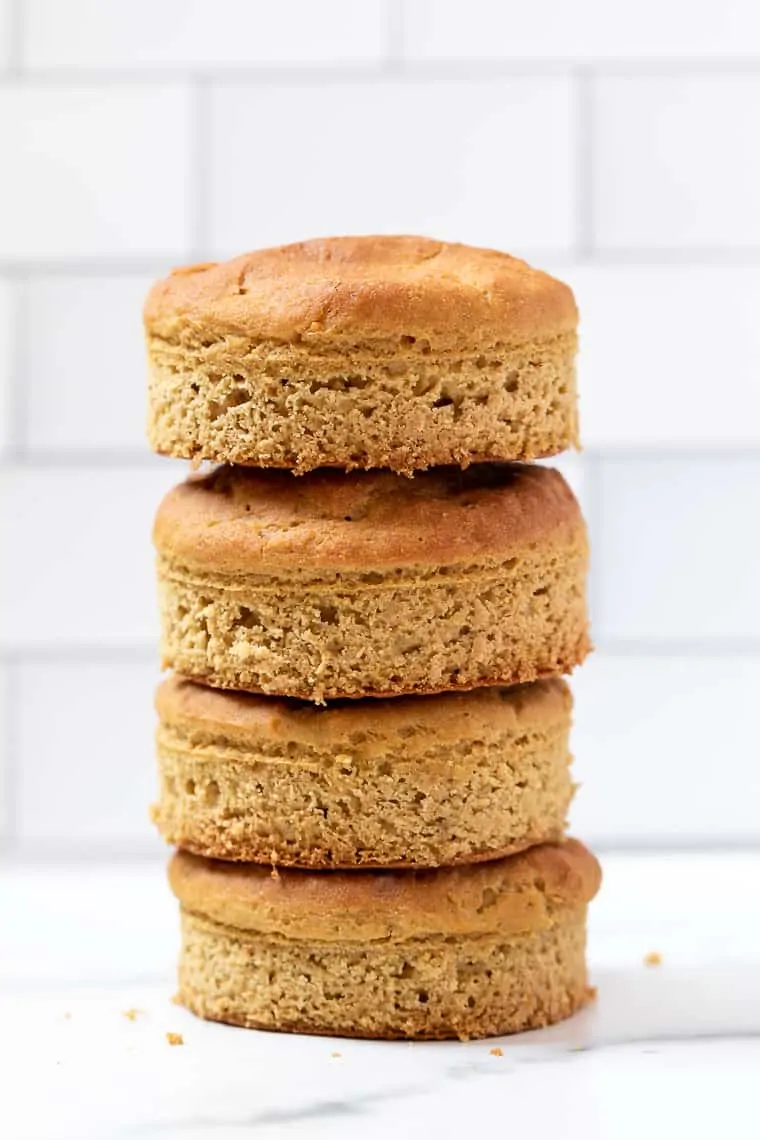
- Bake. Pop the English muffins in your oven for 20 to 25 minutes or until they’re golden brown and baked through.
Tips for Success
- No English muffin rings? If you don't have English muffin rings, you can use cleaned out tuna cans or round cookie cutters.
- Watch the dough, not the clock. It usually takes about 20 minutes for the dough to rise, but on a warm day it can happen faster and if it’s cold in your house, it may take longer. Just watch for the dough to double rather than setting a timer.
- Keep them from over-baking on top. If your gluten-free English muffins start to brown too quickly, tent them with foil and continue baking.
Substitution Ideas For This Recipe
Now I know that you might not have all these ingredients on hand and could be curious about substitutions. Gluten-free baking (and these gluten-free English muffins!) is very much a science, so substitutions must be made with care. While I haven’t tested these personally, I think they’re your best bet if you need to make some changes:
- Sorghum flour. Substitute brown rice flour or extra quinoa flour.
- Almond flour. Use another nut flour or I think you could try oat.
- Tapioca starch. Arrowroot powder, cornstarch or potato starch all work.
- Quinoa flour. Oat flour is the best sub!
- Xanthan gum. Guar gum or maybe psyllium husks. I wouldn't leave this out though as your muffins might be kind of crumbly.
- Honey. Maple syrup or another sweetener.
- Yeast and egg. These cannot be substituted.
My Favorite Ways to Use These English Muffins
- Toast them and slather them with chia seed jam, vanilla bean cashew butter, or almond butter.
- Use them to make breakfast sandwiches with eggs and tempeh bacon or air fryer bacon.
- Feel like a kid again and make English muffin pizzas.
- Cut them in half and use them for sweet potato black bean burgers or quinoa burgers.
How to Store
Store your gluten-free English muffins in an airtight container or zip-top bag for up to 3 days at room temperature.
Can I Freeze This Recipe?
Freezing is the best way to store these gluten-free English muffins; in fact, I’d say any muffins you don’t plan on eating right away should be frozen for maximum freshness. Freeze them in an airtight container or freezer bag for up to 2 months. You can cut them in half before freezing and then pop them directly into the toaster from frozen.
More Classic Gluten-Free Baked Goods to try
Gluten-Free English Muffins

Ingredients
- 1/2 cup sorghum flour
- 1/2 cup tapioca starch
- 1/2 cup almond flour
- 1/4 cup quinoa flour (or flakes)
- 1/2 teaspoon xanthan gum
- 3/4 teaspoon baking soda
- 1 1/2 teaspoons instant yeast
- 1/2 teaspoon salt
- 3/4 cup warm water 80 – 90 degrees F
- 1 teaspoon honey
- 2 tablespoons olive oil
- 1 large egg at room temperature
Instructions
- Turn on the oven for a few minutes, then turn it off keeping the door closed (If you have a nice warm spot in your house that these can rise, you can skip this part). Line a baking sheet with parchment paper, grease four English muffin rings and arrange them on the baking sheet. Set aside.
- In a small glass measuring cup, add the warm water, honey and yeast. Stir gently until incorporated and set aside to proof. After about 5 – 8 minutes, the yeast should have grown and become puffy. If not, your yeast is likely not active, or you water wasn't the right temperature.
- Meanwhile, whisk the dry ingredients together. In a separate bowl, beat the wet ingredients together. Add the wet ingredients, followed by the proofed and mix until combined. Don't overmix the dough.
- Divide it between the four prepared English muffin rings. Place them in the warm oven (or in a warm spot in your house) and let them rise for at least 20 minutes until they're puffy and nearly doubled in size.
- If you're proofing them in the oven, take them out then preheat the oven to 350 degrees F.
- Bake at 350 degrees for 20 – 30 minutes. If they start to brown too quickly, cover the tray with aluminum foil to finish.
- Cool on a wire rack until completely cool. Slice in half and toast.
